creating your own neon effect with lightroom and photoshop
Watch this video for a video tutorial
Raise your hands if you’re one of those people that always wonder how people edit the cr*p out of their photos. Creating those unreal futuristic, neon lighting effects in their photos.
Well, you can put down your hands and stop wonder. Today I’m going to share tips on how I create these photos in my post editing process.
Before we begin, there are few things that you need to make sure to follow to create the best possible result.
1. Shoot in RAW!
It is important that you shoot these images in RAW file. RAW file contains the richest data amongst all formats. By shooting in RAW you can manipulate the colors of your photo without sacrificing the quality of the photos.
2. Shoot underexposed
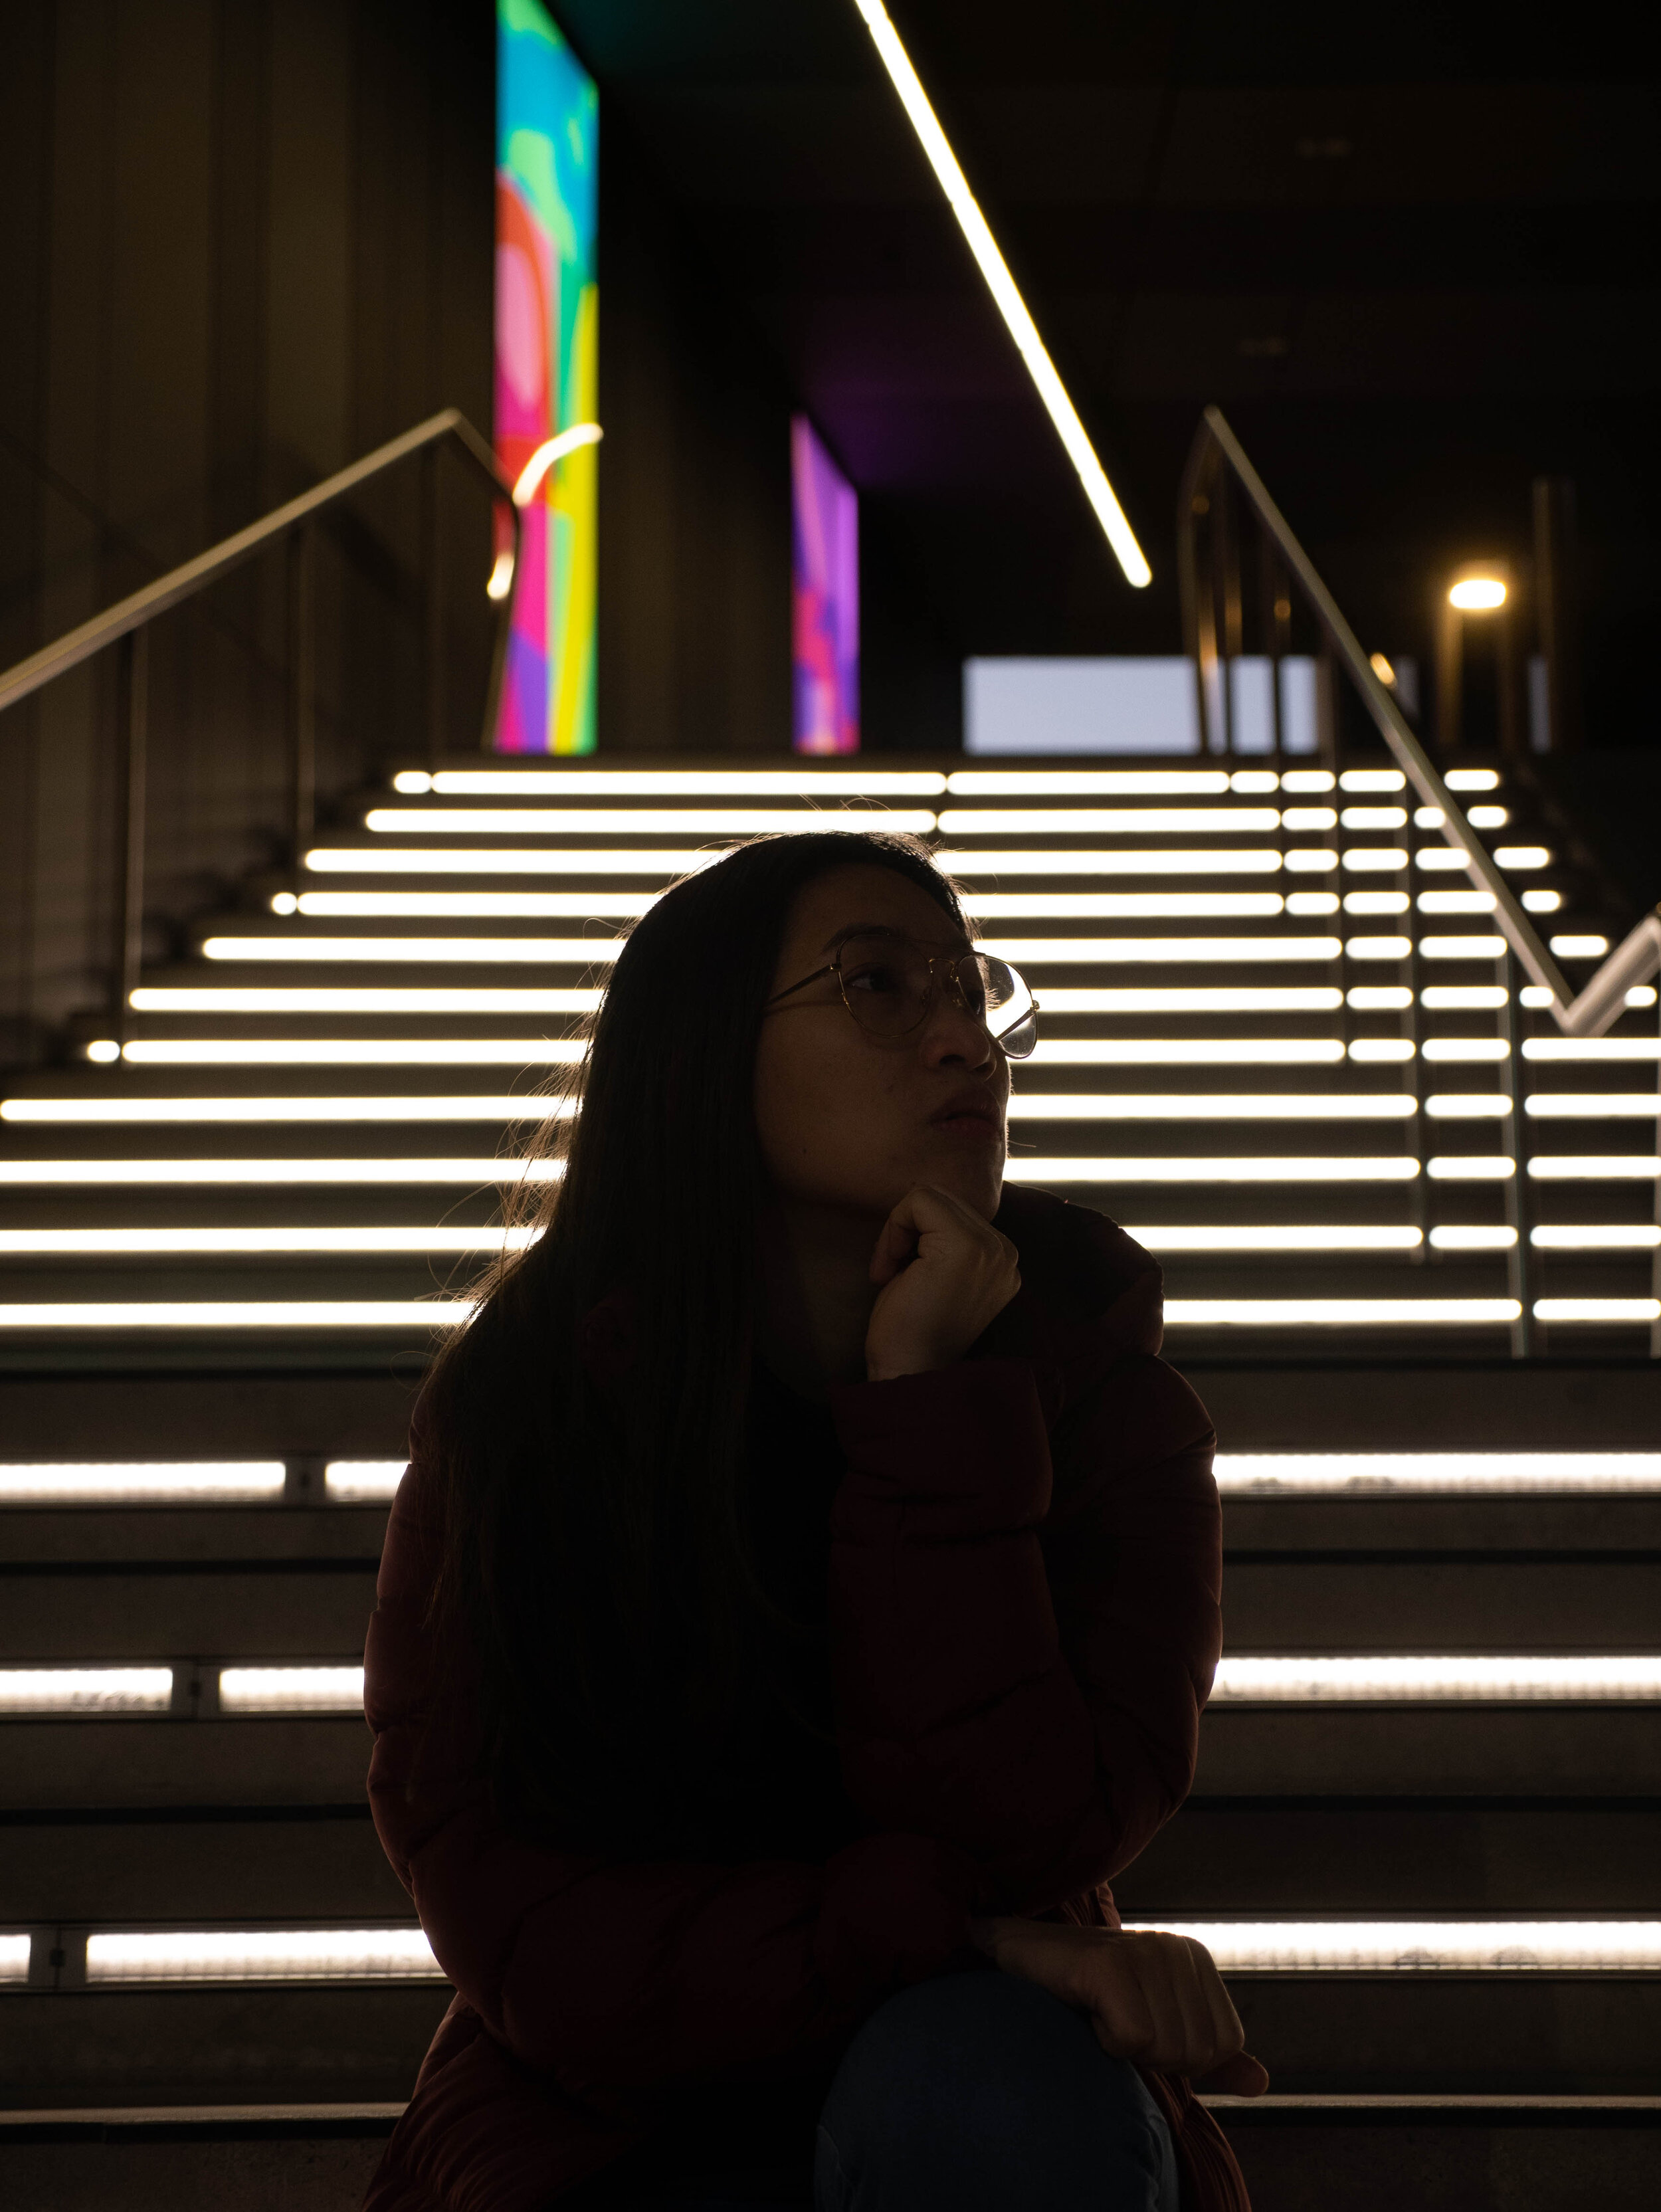
This is one thing that many photographers fail to understand especially shooting in low light. While there are cameras that have really good ISO capability, the rule to thumb is still not to push the ISO overly high. For me, even in the low light condition, I would always shoot slightly darker in the camera and I would only lift the exposure while I’m in post-editing process.
Shot in low exposure
Post edit result
Knowing what you want to photography and shooting it with just the right minimal lighting can help greatly in retain the quality during post-editing process.
3. Have Adobe Photoshop and Lightroom
I apologise if you don’t use Photoshop or Lightroom. This editing process requires these 2 software to make it work. (at least in my limited knowledge) However, if you find that you can use other software to create these results do drop it in the comment section below and let me know. I would love to know more of the software so I can have advise others better when they tell me that they don’t have Photoshop or Lightroom.
But if you can, do try and get both of these software. I love them so much in terms of the flexibility that they’ve given to me when I’m editing my photos.
*not a sponsored post.
Ok now that we’ve gotten the basics covered lets head into the editing process.
First let us select a photo that we want to edit. In this tutorial I’m going to use this photo.
Step 1: Open the desired photo with Lightroom.
Step 2: After opening the photo in LR, right click and select edit in Photoshop.
Step 3: Once you’re in Photoshop, create a copy layer of the photo.
Step 4: Select the copy layer, head to Image tab and find the apply image button.
Step 5: You’ll see this tab open up. At the Blending option, select multiply and make sure that the opacity is 100%
Upon doing that, you’ll see that this effect will be created on your photo.
Step 6: Head over to the right panel, you’ll see the drop down bar with normal selected. Click on it and select screen.
As you select the screen mode, the light in the photo is slight brighter now.
Step up 7: Next, head over to filter tab on the top. Find the blur category and select gaussian blur.
Once you’ve click on to the gaussian blur tab. You can select the radius value to determined how blur the lights are. As you can see in the picture, the light now has a glowing effect.
The higher the pixel value, the more blur is introduced. However, I would always try to control the blur effect so that it doesn’t feel overwhelmed.
Step 8: Once you’re done with that, create a vector layer on the copy layer and start removing the leaked glow on the subject.
As the subject is in front of the lights, it doesn’t make sense for the subject to have glowing lights in front. So carefully erase the unwanted blur. Once you’re done, save the photo and return back to Lightroom.
Step 9: This will be a slightly long step. Once you’re back into Lightroom, go and select the radial tool. Create a circle around the areas that you want to change the lighting colours.
After that, on the right penal, tick the invert box and increase the feather value to the maximum. This will create a soft bright tone as you can see from the picture above.
Step 10: Above the feather bar you’ll see a colour selection tab. Click on it to select the desired colour that you want for your lights.
Step 11: Now you have the right lightings, but that’s an ugly green layer on your models face. So what can you do about it?
Under the selected radial tool, you’ll see the brush tab on the right. Click on that can select erase a the bottom at the brush section and start removing the excessive colour on the model.
Zoom in and adjust your erase pointer for better precision while erasing the layer.
Once you’re done with that, the end result should be like the picture above. However, the model is still too dark due to the underexpose shot.
Don’t worry, the next step will make the whole photo better.
Step 12: Now that you’ve know how to use the radial tool. Do that again. This time focusing on the model. Use the same setting; invert and maximum feather.
Once you’ve done that, adjust the expose, contrast, highlights, shadows, black and white to the desired tone that you want. That way your model will be lit up perfectly.
Step 13: You might notice that there are excessive brightness around the model. Repeat the erase process but this time erase the excessive layer surrounding the model instead.
Remember, zooming in to erase might seemed slower, but the precision and result is always gonna be better.
Step 14: Now once that you’ve adjust everything, just make sure that everything is in the right place.
You can do some colour grading and adjust the alignment of the photos.
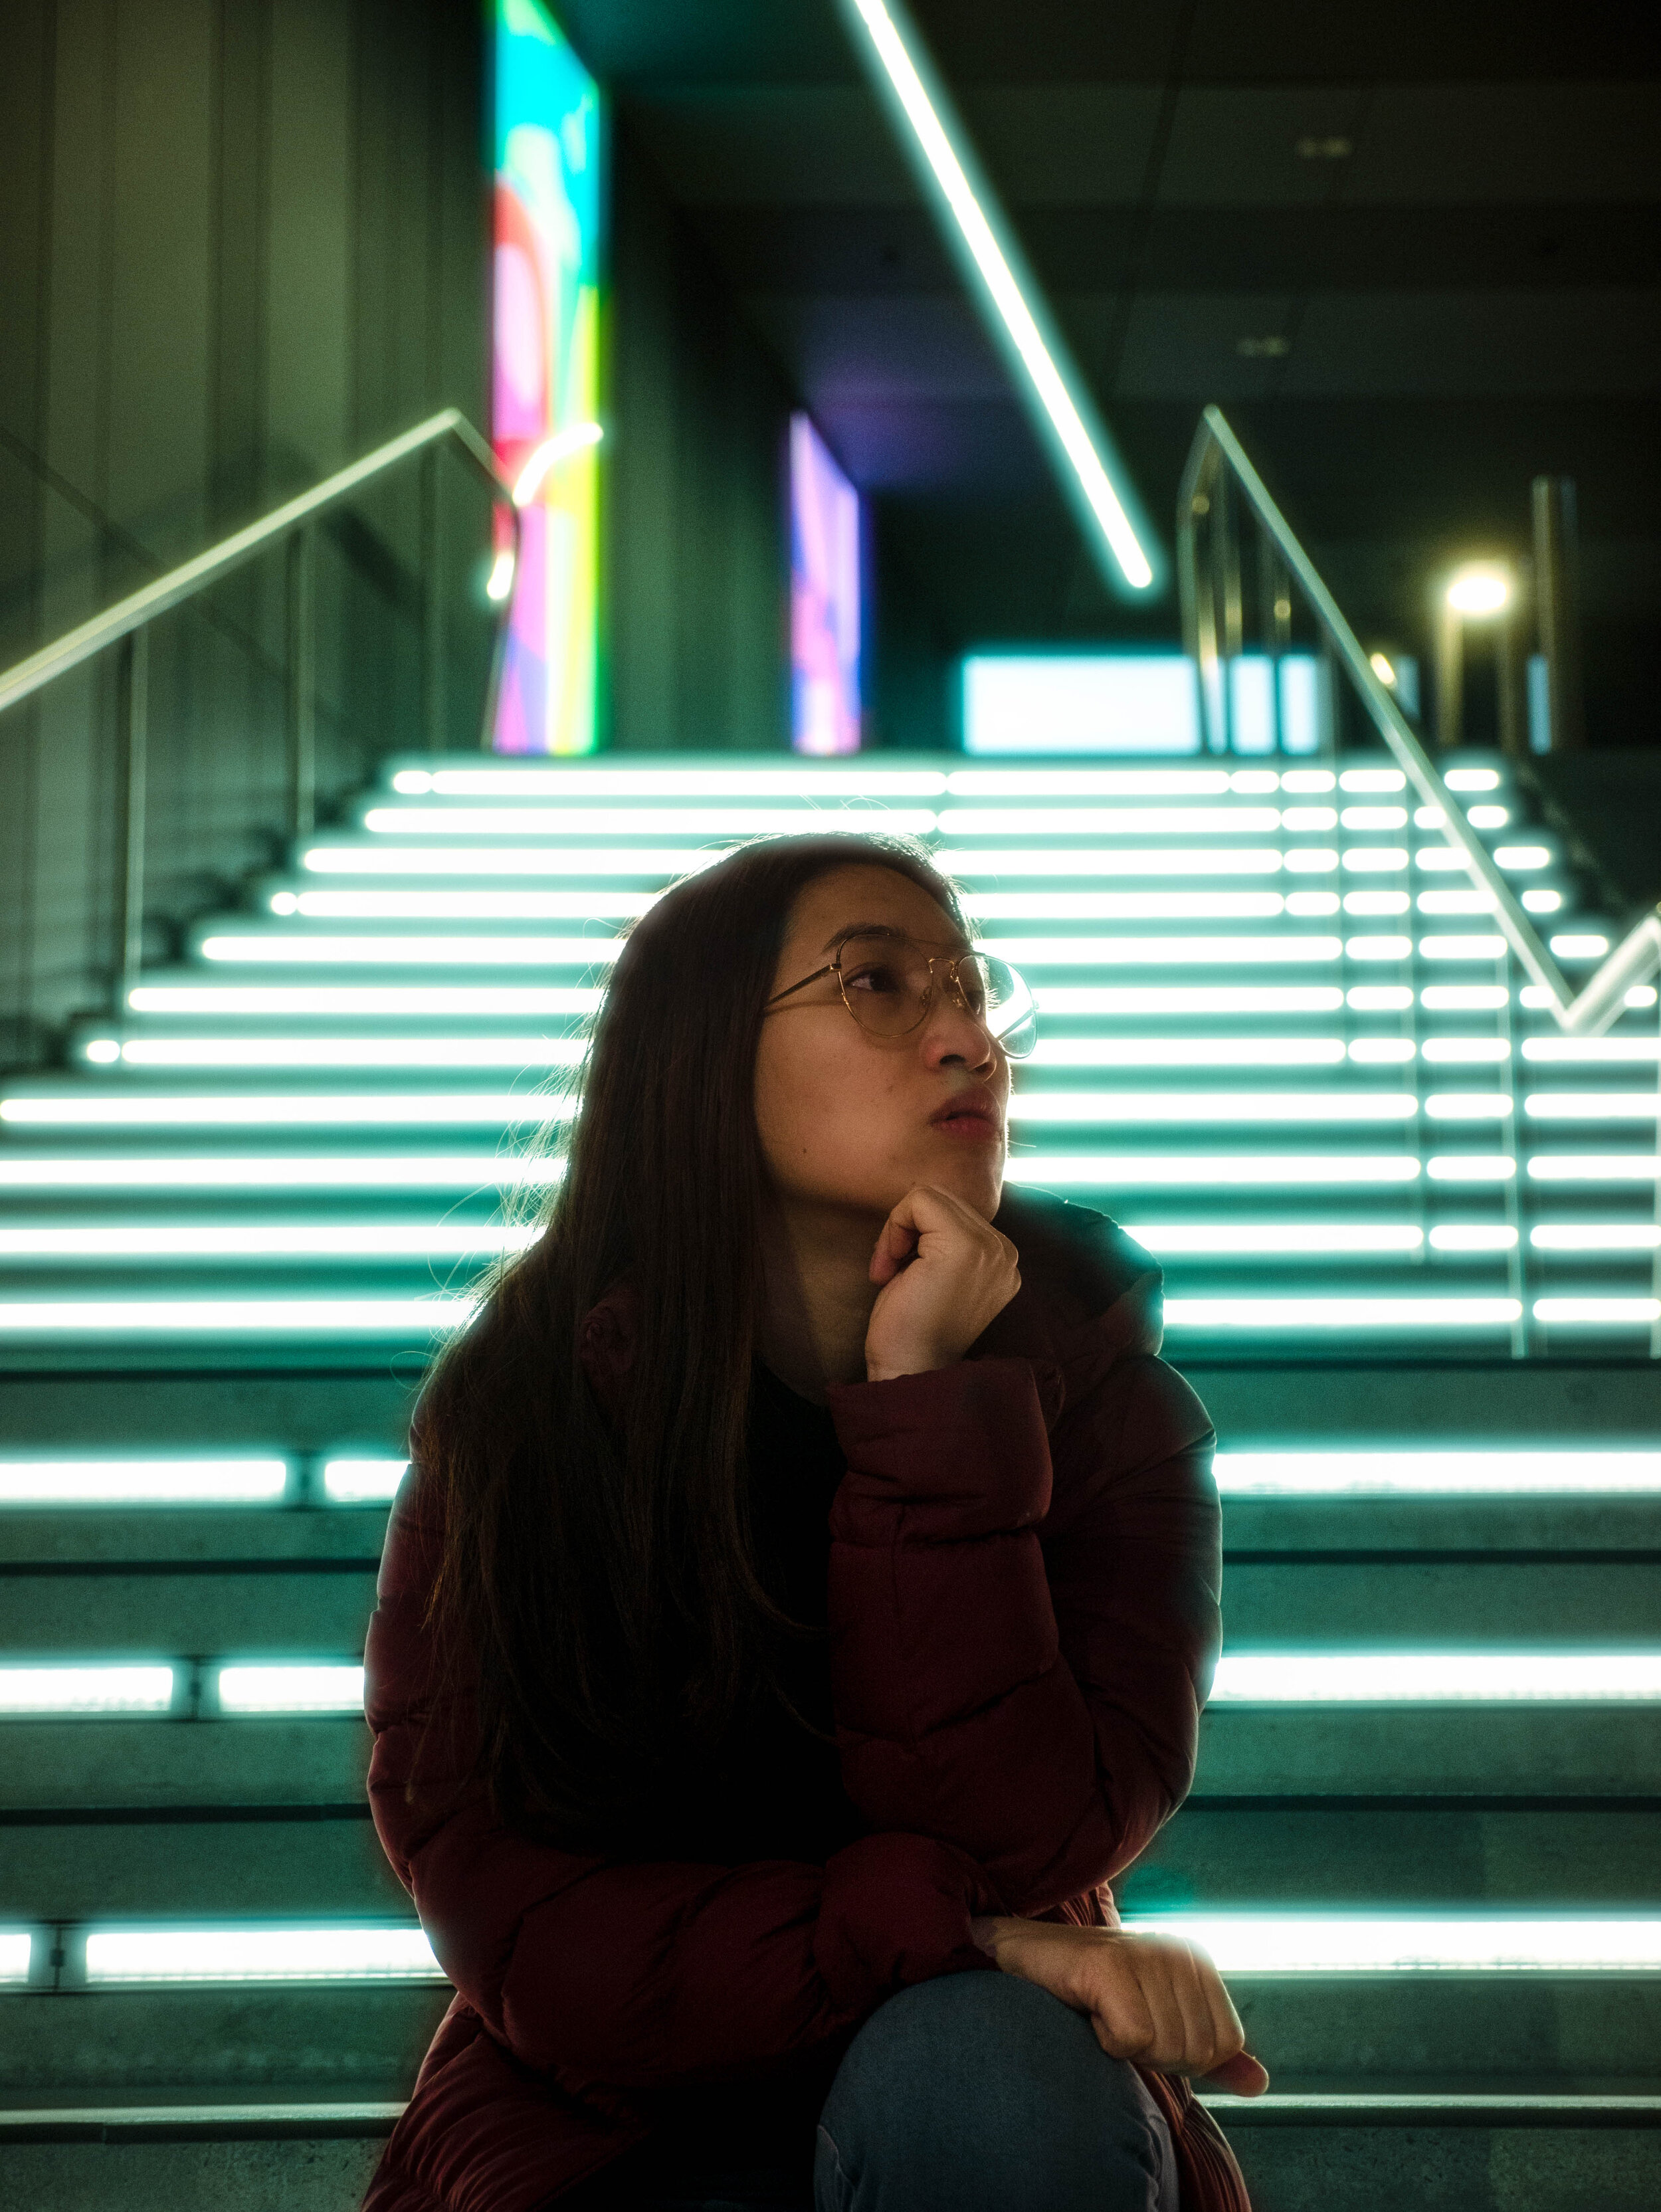
And there you go. The final out come.
Before & After result
So there you go, I hope I didn’t bore you off with all the screenshot steps. As long as you follow each of the steps carefully, you should be able to get a decent result in manipulating the lighting colours of your photos.
This method is really good and can be use in quite a numbered of settings. Personally I love to use it to create more dramatic effect on the lighting.
Using it on a sunset can create that awesome dreaming glow that can be quite mesmerising.
Or you can increase the backlight effect to make it more dramatic.
There are just so many possibilities and creative work that can be done using this method. I hope that through this tutorial you’ll be able to create the photo effect that you’ve been wanting to.
And if you edited the photos with this method, do share it on Instagram and tag me @theandrewteoh. I’ll give you a good shoutout for that.
So that’s all for this time around. And by the way, if you guys are struggling to understand how this editing process works (perhaps my visual screenshot isn’t really helpful) you can always check out this video version tutorial that I’ve created. And if you liked the content, be sure to hit the like button and subscribe to show your love and support to my contents.
I’ll see you guys on the next post. Cheers.


